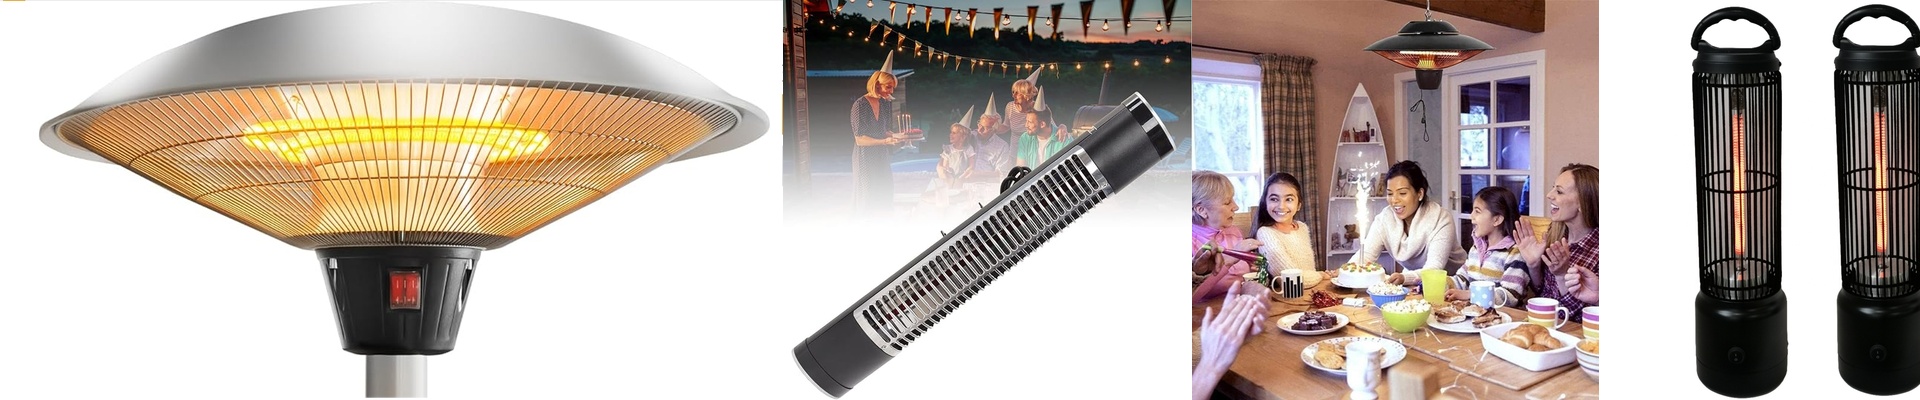
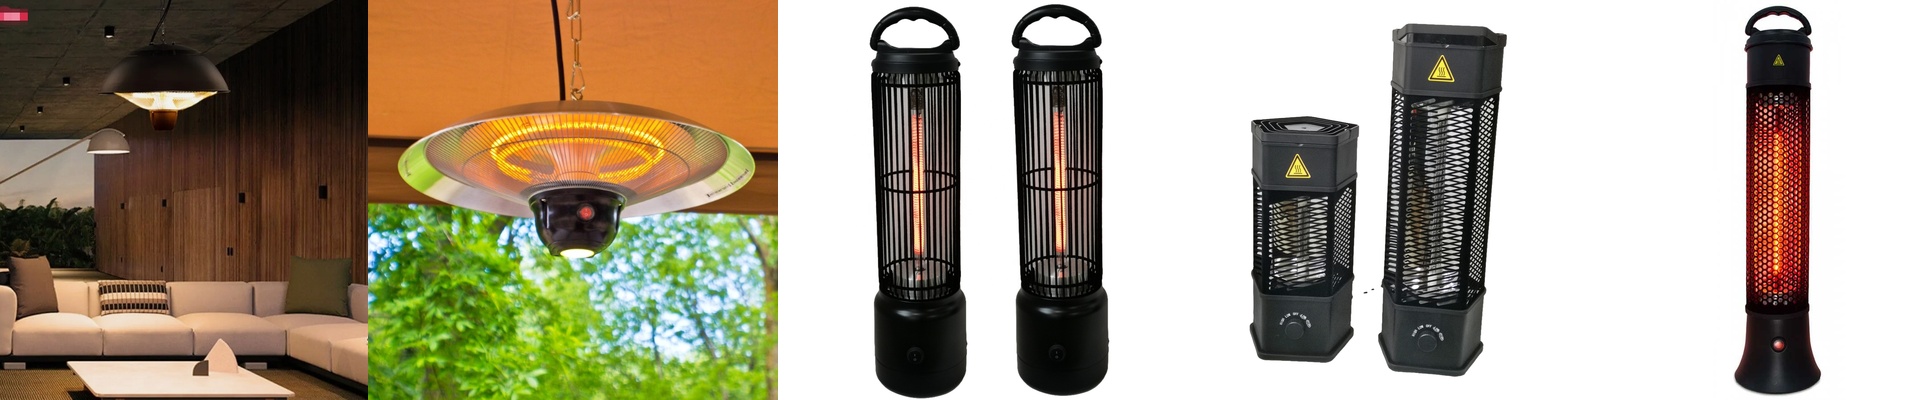

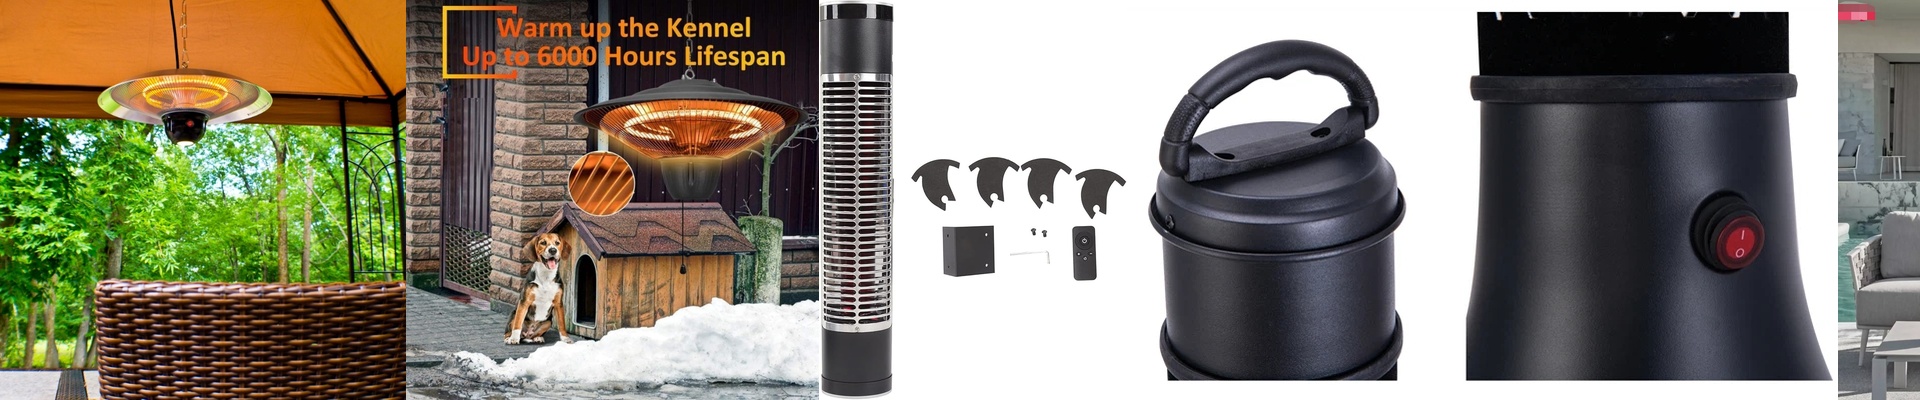
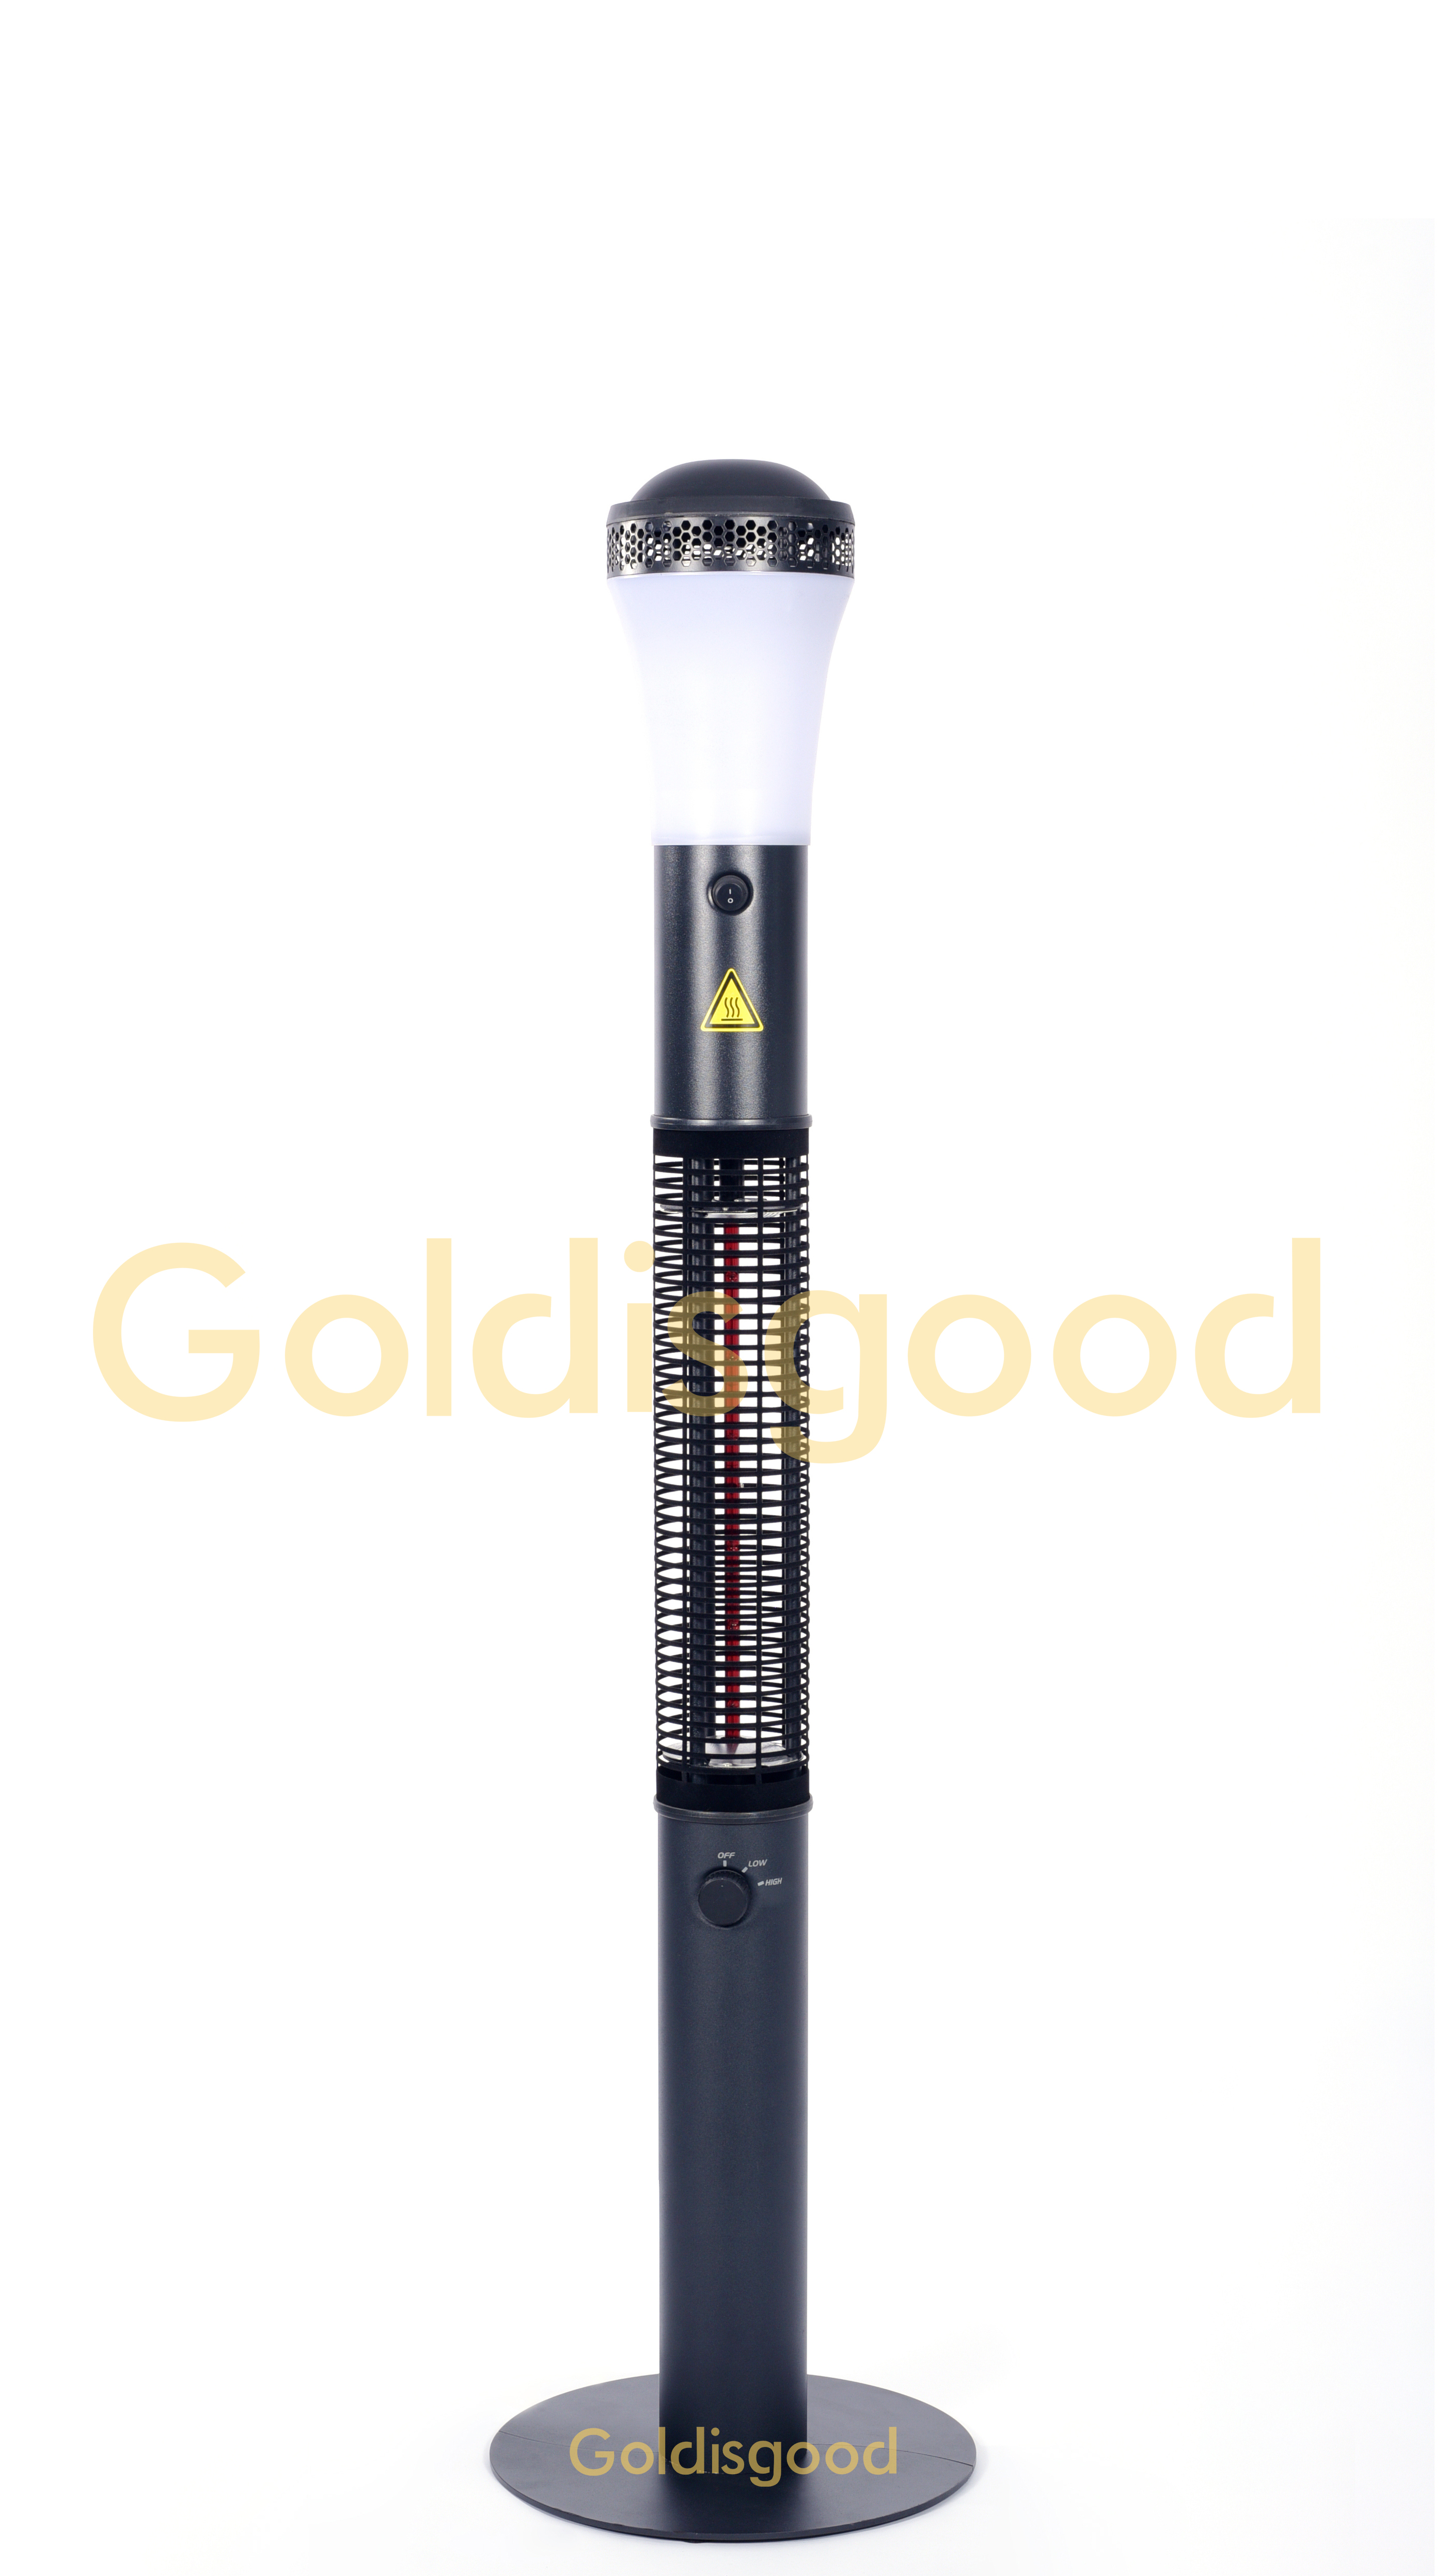
Wall-Mounted Infrared Garage Heaters: The Secret to Warming Just What You Need
We built this wall-mounted infrared garage heater for one simple reason: to put heat exactly where you want it. No more fighting to warm the whole room. It just gets straight to work, warming the people and objects that matter.
Power, Wiring, and Size: The Details That Actually Matter
This thing is seriously powerful. It packs a lot of heat into a small space, which is exactly what you need for a garage. But that power comes with a price. It needs a serious electrical setup—a dedicated circuit with the right gauge wire. Plan for some breathing room around the unit, too. It runs hot, and that’s by design. You’ll also want to make sure your space can handle the localized temperature rise. It’s not a set-it-and-forget-it appliance; it’s a piece of equipment that needs a proper plan.
Inside the Heart: The Quartz Tube and R7s Connection
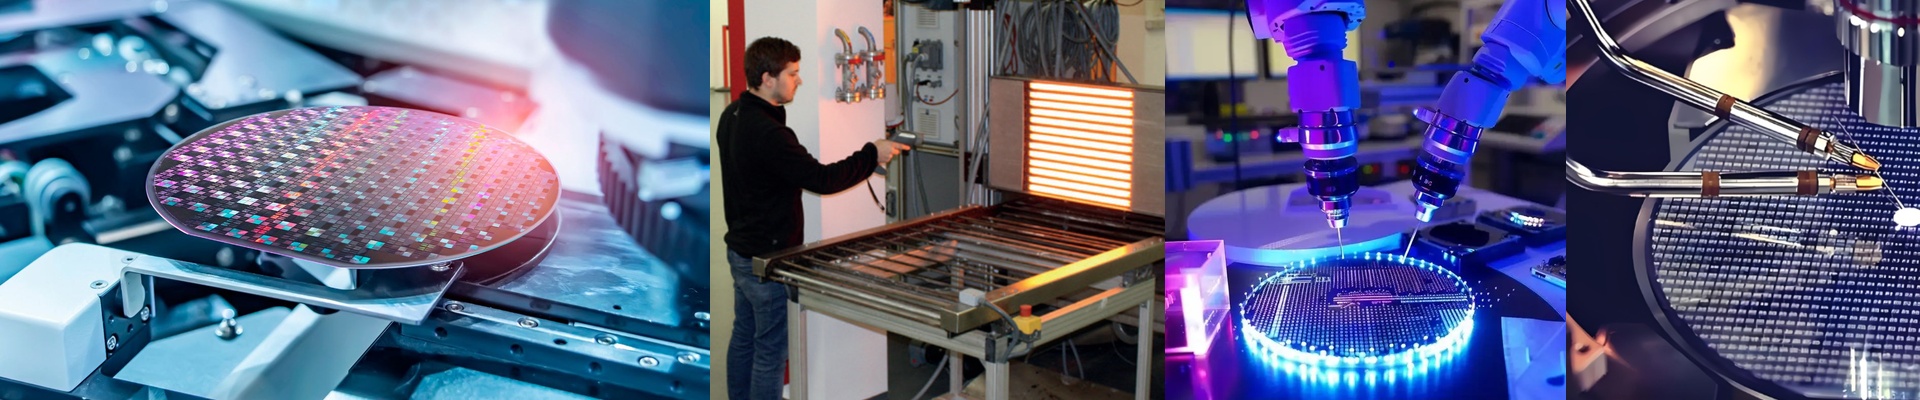
At the core is a quartz tube, filled with halogen. Quartz is tough—it can handle the shock of going from cold to blazing hot without breaking a sweat. The halogen inside keeps the filament clean, which means the heat stays consistent and the tube lasts a long time. And when it does finally need replacing? The R7s connector makes it easy. It’s a standard, reliable connection that lets you swap out the tube in minutes. No fiddling, no downtime. Just a quick, solid replacement so you can get back to work.
Heat Where You Need It, When You Need It
Mounted on the wall, this heater gets out of your way and focuses its energy downward and outward. The reflector is key here—it shapes the heat beam so it lands on your workbench or the car you’re working on, not on the ceiling. You feel the warmth almost instantly. It doesn’t waste time heating the air; it warms you directly. The trade-off is that it’s focused, not ambient. So you have to plan the mount height and angle to hit the right spot.
The Physics of a Rough-and-Tumble Heater
The quartz envelope does its job by letting infrared energy pass through efficiently while keeping everything inside stable. The halogen gas is what prevents the filament from degrading, so the output stays steady, even after hours of use. And the R7s base? Besides making swaps easy, it also reduces the risk of hot spots at the connection. It all adds up to a heater that’s built to take a beating, hold its performance, and be serviced without a headache.
The Shop-Floor Reality
This is where the heater really shines: over the workbench, in the vehicle bay, right where the work is. It stays out of the way on the wall, and the infrared beam delivers heat straight to the source. The best part? You get warmth immediately. No waiting for a fan to push hot air around. Just point, shoot, and feel the heat. Just remember, it works on line of sight. Aim it right, and make sure your wiring and cooling are ready for the power it draws.
The Limits You Need to Respect
This is a workhorse, but it’s not magic. It’s an industrial tool, and it has rules. Keep anything flammable at a safe distance. Double-check that your voltage matches. And absolutely make sure your wiring and circuit protection are up to the task. When you treat it with the respect it deserves, it rewards you with reliable, targeted heat that keeps the job moving.
A Steady Glow, No Flicker
The halogen source puts out a steady, consistent light and heat. No annoying flicker. In a shop where you’re making precise cuts or detailed work, that steady light is more than just a comfort—it’s a safety feature. The beam is bright, so you have to be smart about positioning. Use the mounting height or a shield to manage the glare. The principle is simple: direct infrared heat warms surfaces fast, and the lamp design keeps that output stable for the long haul.
Installation and Maintenance: Keep It Simple
Setting it up is straightforward. Mount the bracket to a solid wall, wire it up properly, and set the angle. That’s it. Maintenance is just as easy. When the tube finally burns out, you just pop in a new one. Keep the connections tight and the reflector clean. The whole design is compact, so you can add serious heating power without having to rework your entire shop layout.
The Trade-Off: Power Creates Heat
High wattage means fast, focused heat. That also means you’re creating localized hot spots. The surfaces near the unit will get warm. So you have to design the mounting to avoid contact with anything that can’t handle the heat. When you plan for this, the heater does exactly what it’s supposed to: deliver fast, directional warmth that keeps your operations running smoothly.
The Engineer’s Take
If you need focused heat in a garage or workshop, this setup is the real deal. It pairs a tough quartz tube, a stable halogen element, and a standard R7s connector for reliable performance. You get direct heat the moment you flip the switch, but you have to do your homework on the electrical, thermal, and clearance requirements. Get the specs right, mount it properly, and it will perform shift after shift without complaint.
Before You Install: A Quick Checklist
Make sure your voltage is compatible. Confirm the beam angle will cover your target area. Use the right wire gauge and proper overcurrent protection. And keep the unit clean and dry to avoid any premature failures. With a proper setup, you get consistent infrared output that focuses on the work area, not the whole room.
What It Means for Your Shop
This unit is all about direct heat, a fast response, and simple service. The quartz halogen tube and R7s base make it a tough, replaceable part. The wall-mount design clears up floor space and focuses the beam where you need it. Accept the heat density trade-off, plan the installation, and you’ll have a dependable heating solution that keeps your bay operational.
The Practical Stuff
Mount it for a clear line of sight. Size the circuit correctly. And always respect the clearances. Do that, and you get targeted warmth that improves comfort without overloading your system. This is industrial heating built for real-world conditions, not showroom promises.
Why This Setup Works So Well
Quartz handles the thermal stress. Halogen keeps the output stable. The R7s connector makes replacement a no-brainer. And the wall mount puts the beam right where you want it. Together, they create a heater that performs predictably under load. The specs aren’t there for bragging rights; they’re there to manage the reality of heat density.
A Quick Word to the Practical Mind
If you need focused heat in a garage, this configuration nails it. Plan the electrical run, set the mount, and aim the beam. The unit will deliver steady infrared output with minimal fuss. Just keep the heat away from materials that can’t handle the temperature, and your setup will run clean.
The Honest Truth
High output means high local temperatures. So protect your wiring. Protect your surfaces. And protect your eyes from the glare. When you design for these realities, the heater becomes a reliable part of your workflow, not another maintenance headache.
The Bottom Line
This wall-mounted IR garage heater is built around proven materials and a standard connector. It delivers directional heat with a fast response. Match the system to the load, and it will perform reliably, shift after shift.