
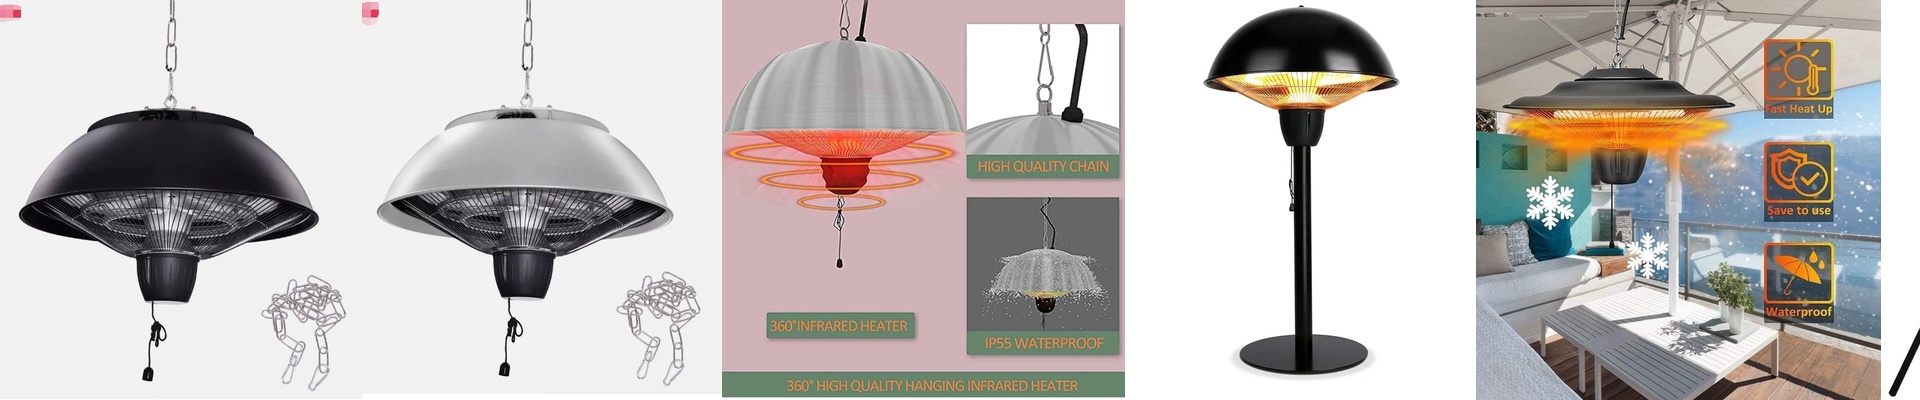

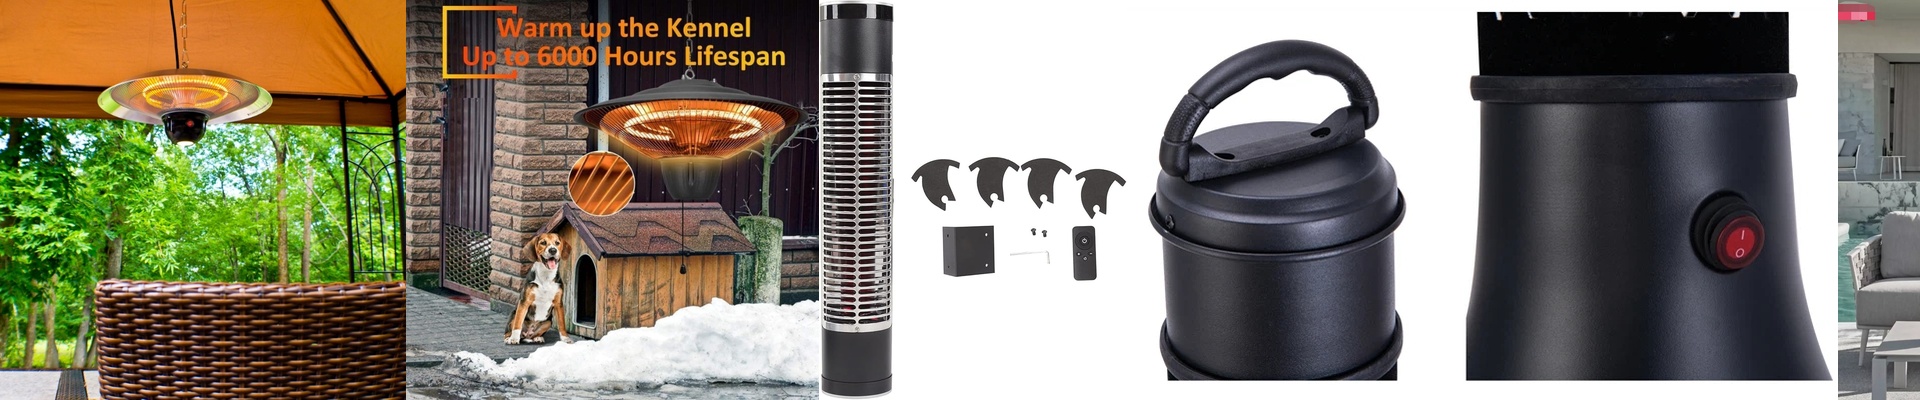

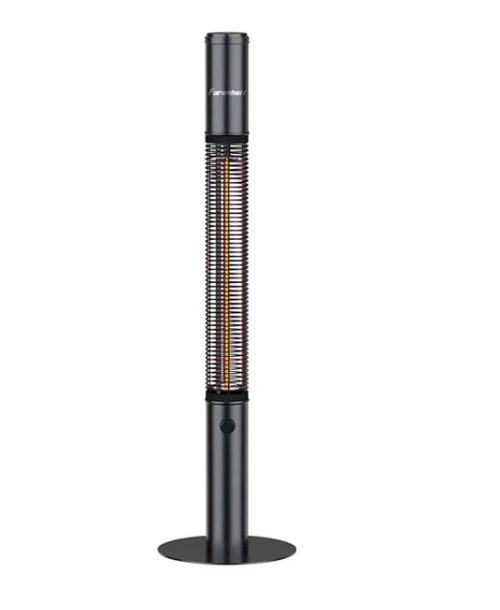
Getting the heat right for a room’s layout and insulation isn’t guesswork. It’s a straightforward calculation that keeps you from underheating, oversizing, and throwing money away on wasted energy. When you size an infrared heating painting properly, the warmth lands where people actually are, not just hanging in the air. What matters under the hood Infrared heating paintings deliver radiant heat, not a blast of hot air. Inside, you’ll usually find a carbon fiber or quartz element that emits long-wave infrared, warming people, floors, and furnishings first. Output is measured in watts, and the practical rule is simple: more watts for larger volumes and colder exposures. A north-facing room bleeds heat faster, while a well-insulated space holds onto it. The goal is matching wattage to the room so the thermostat cycles normally and the comfort feels steady. This approach makes sense in real-world selection. You can line up wattage with room size, window count, and insulation level without going overboard. Comfort comes on quickly, because radiant heat starts working the moment the element comes up to temperature. In living rooms, studies, and bedrooms, the feel is even—no cold feet, no drafty corners. For homeowners, that means lower energy use, since the heater isn’t constantly chasing heat loss. And because the unit is quiet, it settles naturally into evenings and work hours without distraction. What to keep in mind Infrared heating paintings do their best work when mounted on a wall with clear line-of-sight to the seating area, and they’re most effective in spaces that aren’t extremely drafty. They need a standard electrical outlet and adequate circuit capacity, so check your wiring before you install. The surface stays far cooler than a traditional radiator, but the front panel does get warm—mount at a safe height, away from high-traffic touch points.